
Routing & mounting
Get each wire from the attic to the run, then screw up the backtrack and snap on the track.
Through a 5/8″ hole, under the track
The connector’s male end fits through a 5/8″ hole. Wherever a wire reaches the run — each channel start, injection or gable jump — drill one where the track will cover it, feed the male end in, and leave the female end outside.
- Drill 5/8″ in the eave where the track will be — for a run, at its far left or right end.
- Feed the male end in with a fish rod (like this Klein glow rod set) and push it over the wall header into the attic.
- Run it back to the controller, adding 25′ cables as needed (up to four, never over 100 ft) and keeping clear of AC power lines. Leave the female end outside with enough slack to reach the first light.
- Twist the first light’s male end into the wire’s female end and tuck the joint into the track channel.
- Snap the track up over the hole onto its backtrack, which has a matching hole (next section).
Inside the house, Class 2 only. Anything in the attic or a wall must be Class 2 rated (CL2 or CL3 on the jacket); every Chameleon 25′ section is. Keep the 3′ flat wires to short jumps outside, under the track.
Screw up the backtrack, snap on the track
Every track is 1 meter with 5 puck lights, 8″ apart. A backtrack screws to the house; the track holds the lights and snaps onto it.
- Cut 3″ off the first backtrack of a run, so it’s slightly shorter than its track, and drill a hole in it that lines up with the 5/8″ hole in the eave. Only the first one.
- Screw it up along the eave. It has 5 small predrilled holes; 2–3 screws per backtrack is fine. We recommend #9 × 1″ hex-washer-head, sharp-point screws, like these Teks roofing screws.
- Connect the track’s lights to the cable (male toward the controller) and push the track onto the backtrack until it snaps into place. It overhangs by 3″.
- Slide the next backtrack 3″ behind the previous track to line it up, and screw it up. Connect the next track’s lights to the previous ones, snap it on, and repeat down the run.
- At the end of the run, cut the track to fit and fill it with single pucks. Plug the last connector, and use plastic end caps on the tracks as needed.
A very clean install. The track snaps on over the screws, so no screws or wires show — like a chameleon, it blends in until the lights come on.
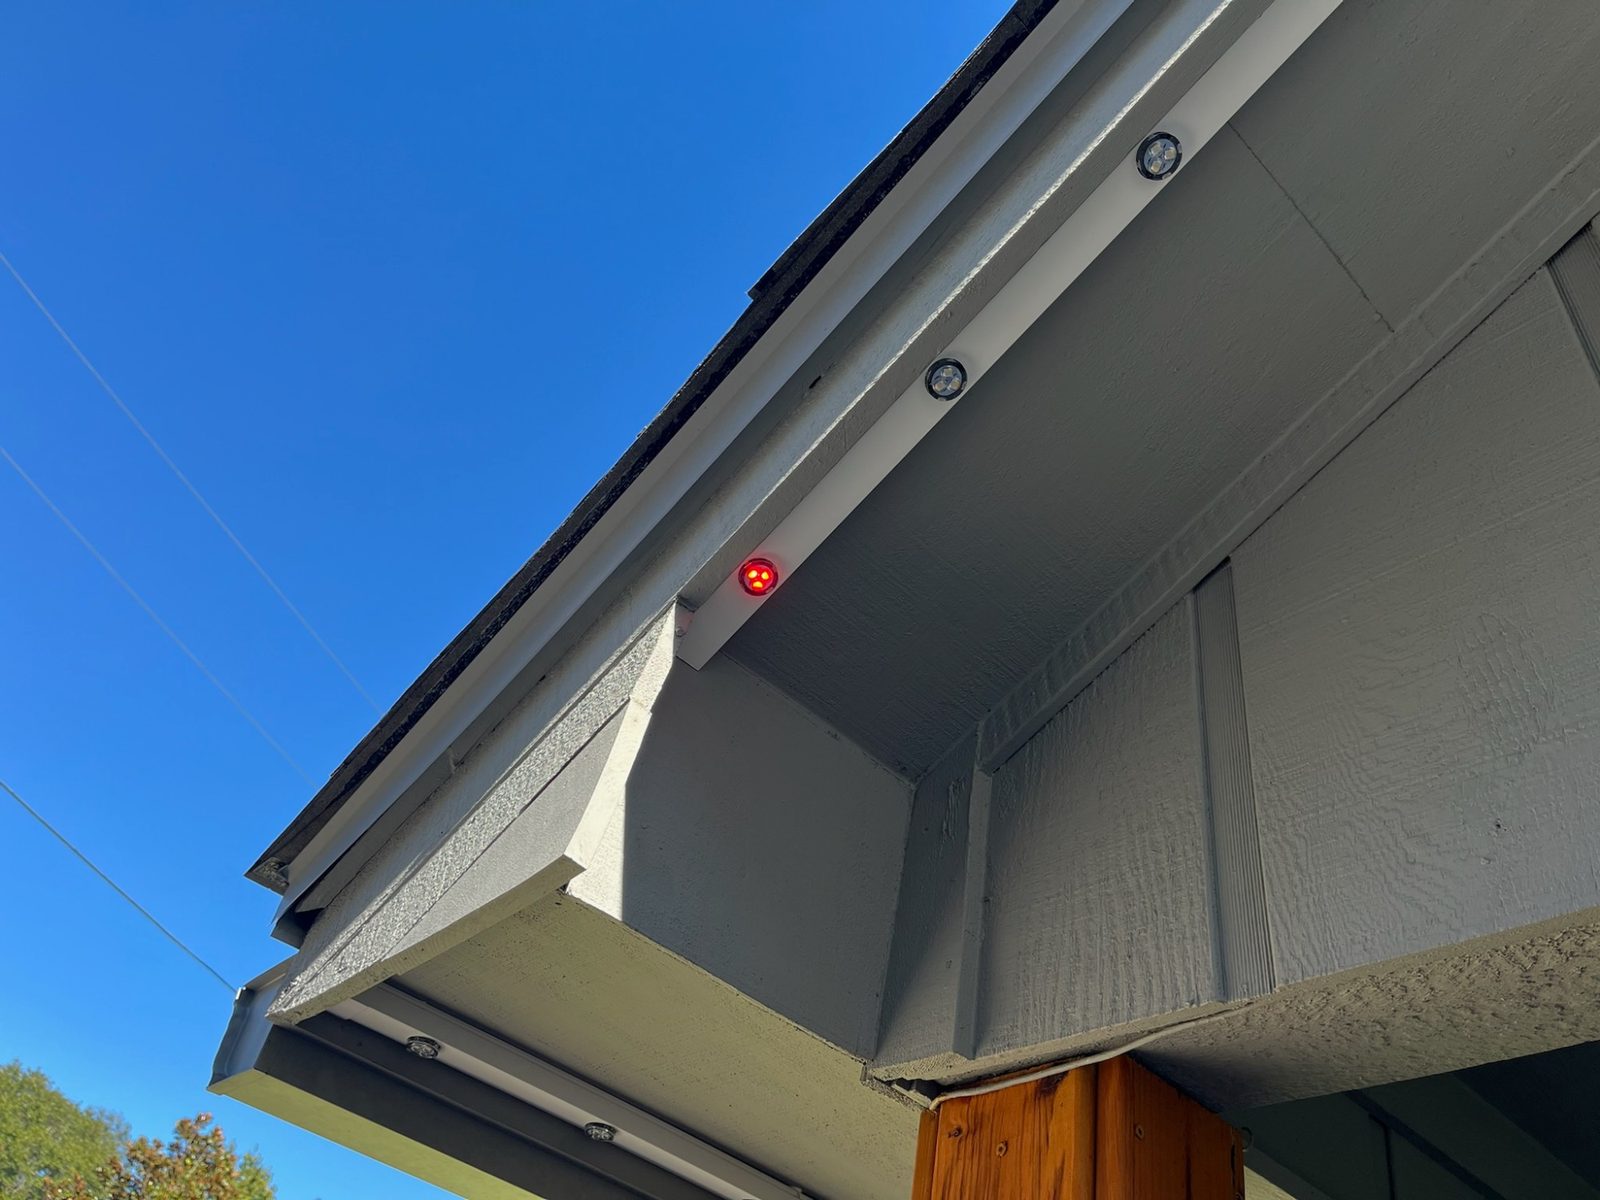
Backtracks after the first are full length, so track joints never land on backtrack joints.
RGBW pucks with a 4000K white. A separate neutral-white emitter for everyday accent lighting, not mixed from color.